Painting Older Toronto Homes: Part I — A Guide to Plaster Walls
What plaster-and-lath walls in an older Toronto home really mean for how you prep and paint them.
April 22, 2026 · 6 min read
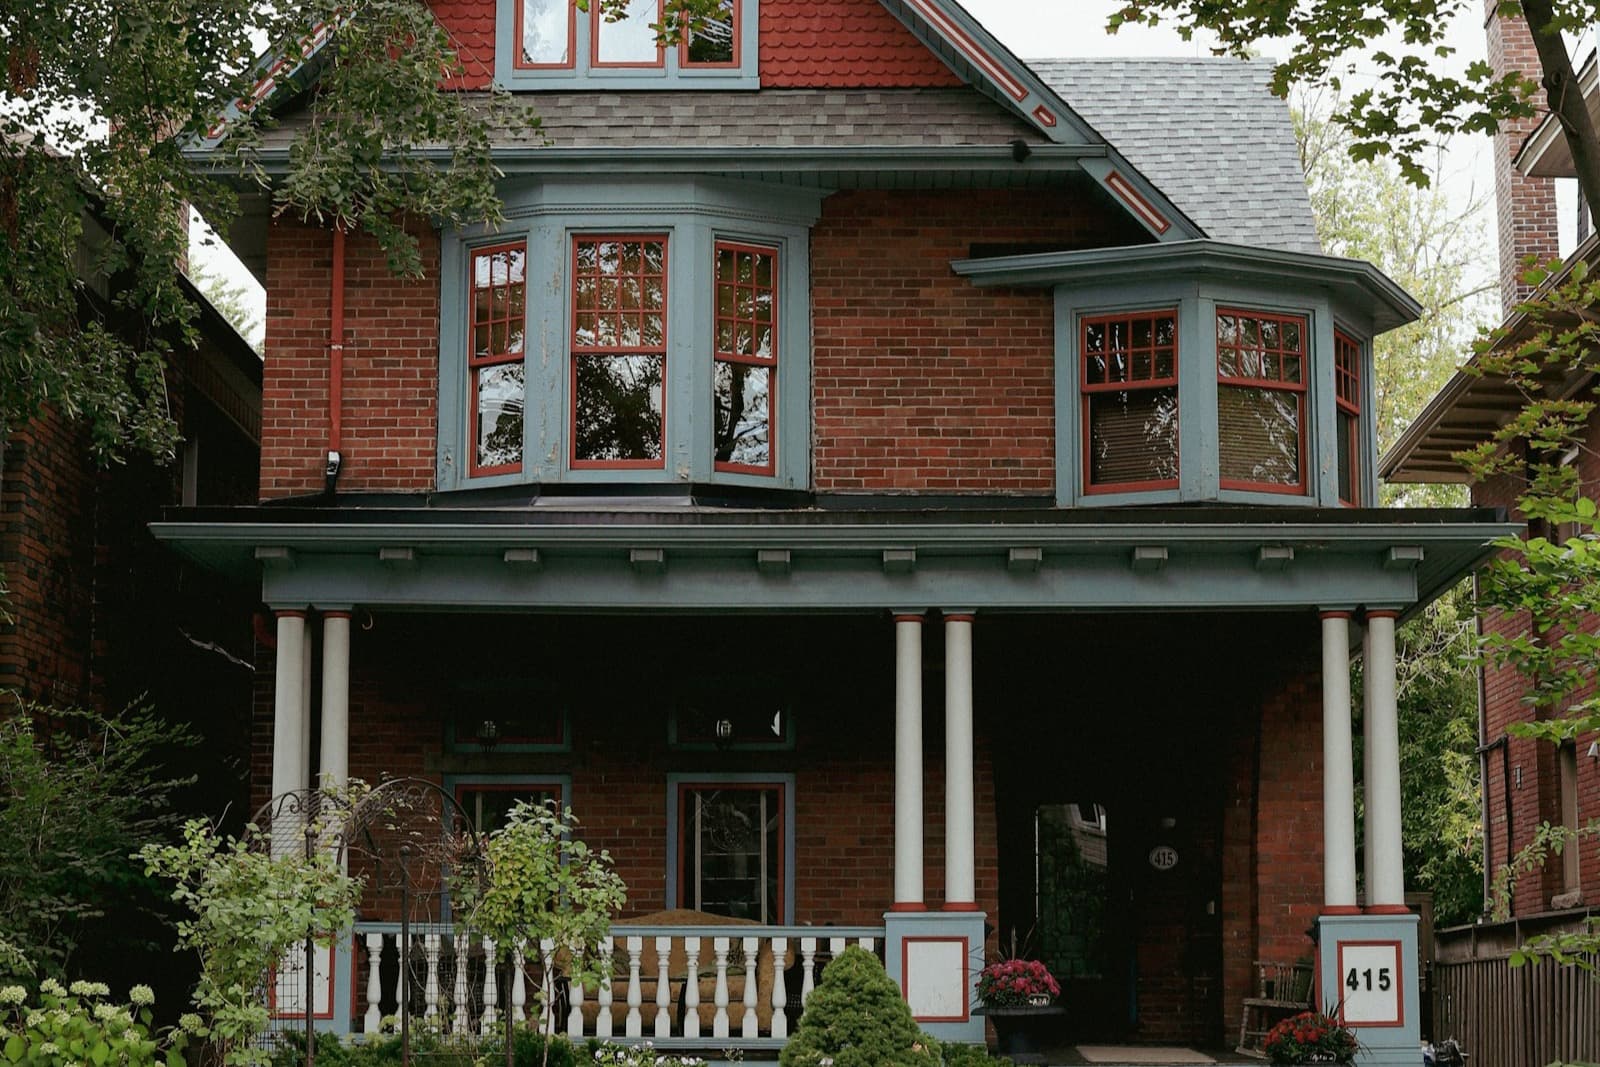
Most Toronto homeowners know the squeeze of trying to afford that first place. Plenty of us, my wife and I included, end up settling for an older fixer-upper — that was us, a little over twenty years ago. And more often than not it turns into a lot more work than you bargained for. Our place was a 90-year-old home: wide trim, original hardwood, the kind of character you just can’t fake in a new build. What we didn’t clue in to back then was how many hard lessons those old bones had waiting for us.
This series is about spotting and handling what older homes throw at you, especially the prep and paint work that trips people up. Before you pick up a brush — or ask us to lend a hand — it helps to know what you’re actually up against. This first piece is all about plaster walls.
Plaster Walls: What They Are and Why They Matter
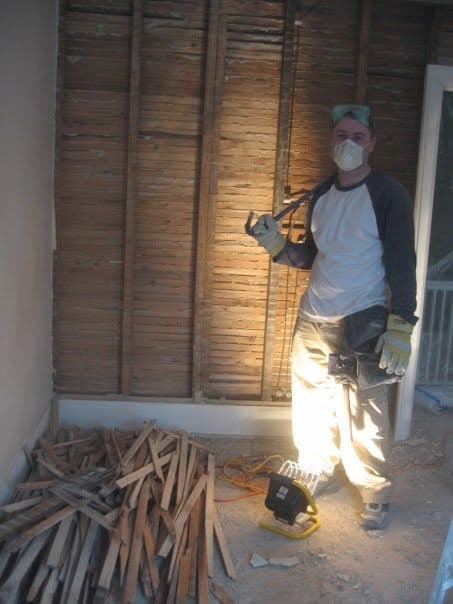
Our first weekend in the house, the plan was to knock out the master bedroom. Strip the wallpaper, throw up some fresh paint, done. A weekend job, right?
Not quite. We peeled back the first sheet and the whole plaster wall came down with it. Not a patch — the entire wall. We stood there caked in dust, staring at bare wooden lath, with no clue what we’d gotten ourselves into. In the end we had to pull all of it down.
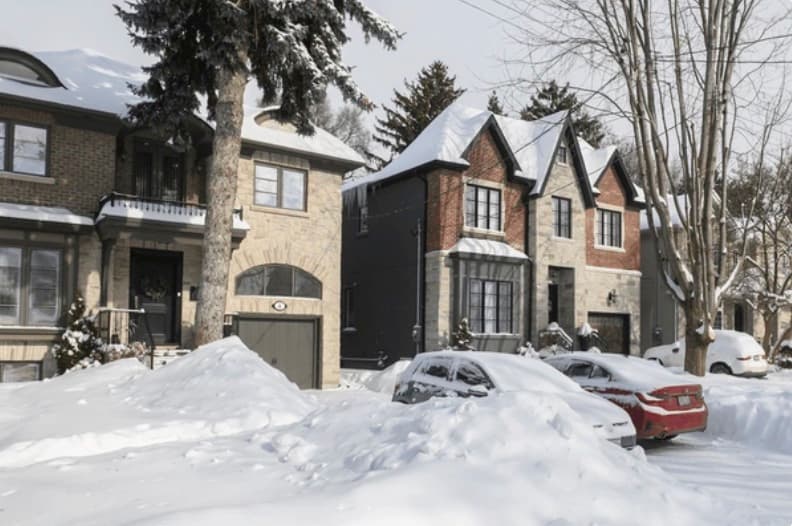
If your Toronto home went up before, say, 1970 — and a huge share of houses in East York, the Annex, Leslieville, Roncesvalles, Mimico, and plenty of other neighbourhoods did — odds are you’ve got plaster walls somewhere in the place.
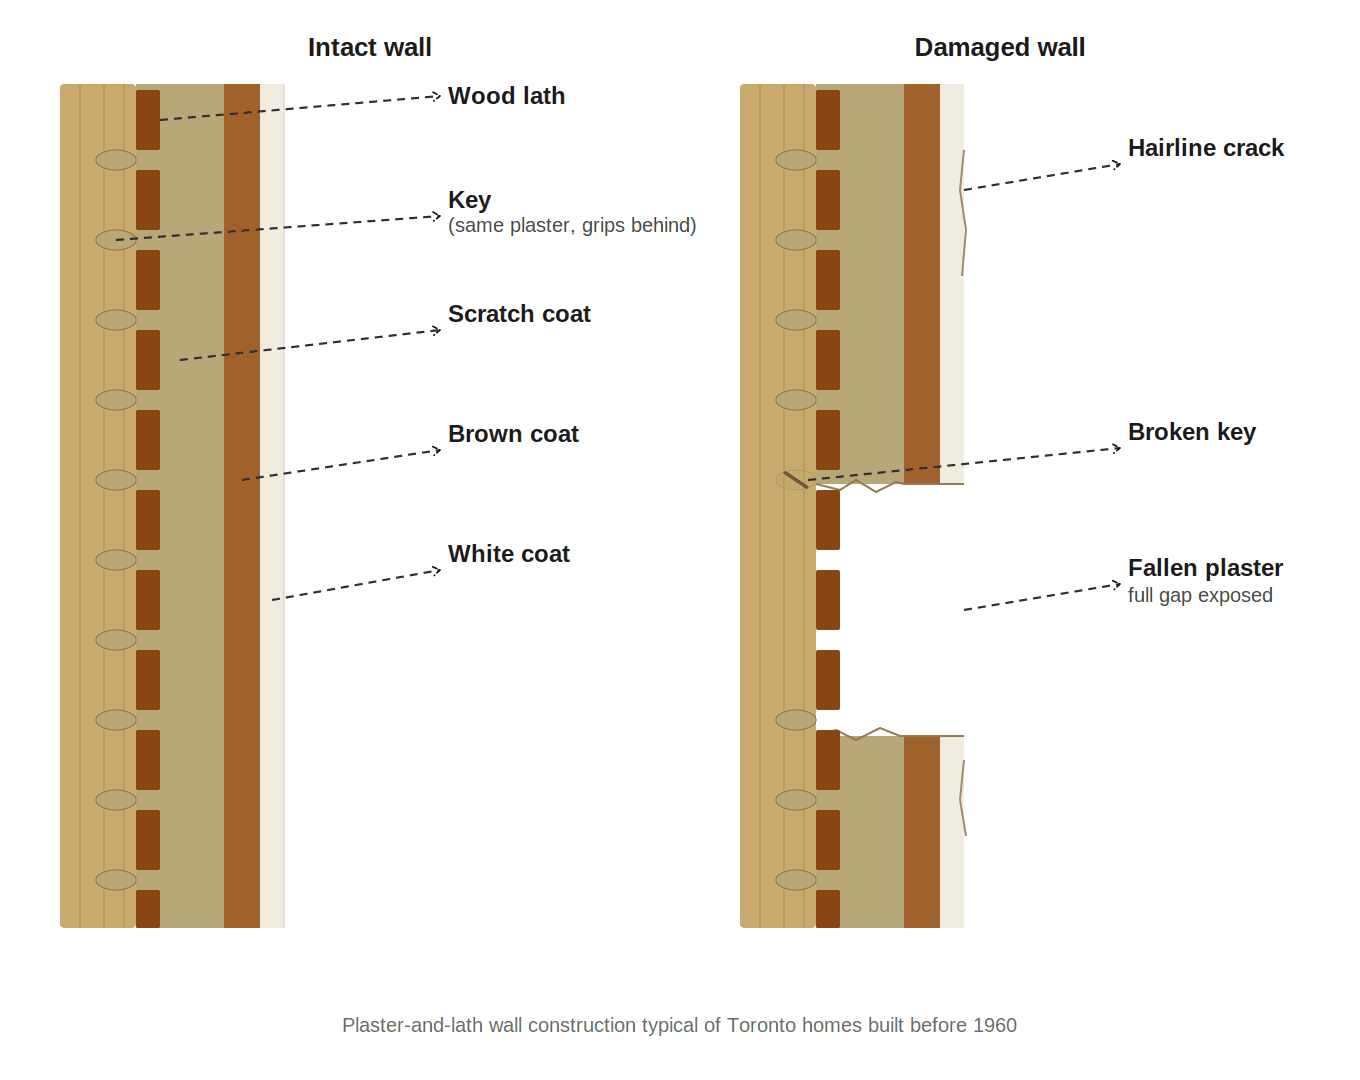
Before drywall took over in the 1950s and 60s, houses were built with plaster-and-lath walls. Thin strips of wood — the lath — got nailed horizontally across the studs, and plaster went on over top in a few coats. The wet plaster oozed through the gaps in the lath and hardened, forming a mechanical grip called “keys.” That’s what holds the whole thing together. It’s a tough system, and a well-kept plaster wall can go a hundred years. But given enough time, things start to go.
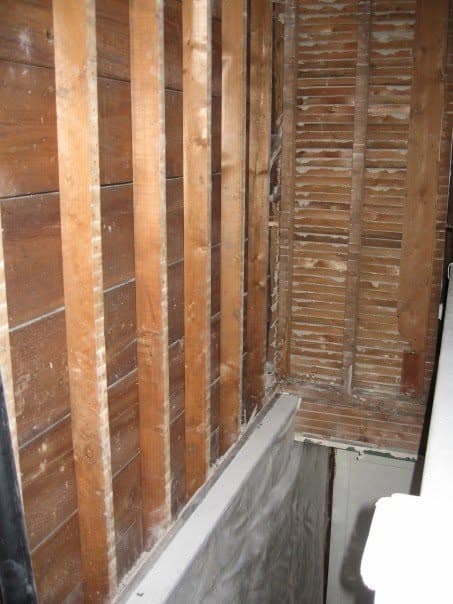
Addressing Common Issues
Hairline cracks are far and away the most common thing we run into in older homes. Usually they come from seasonal movement in the old wood framing — the house literally swelling and shrinking with the temperature. They’re manageable, but here’s where most people go wrong: they fill them with standard drywall compound. Looks great for six months, then it splits right back open.
Spongy or bulging walls are the bigger headache. Press on the wall with your hand, gently. If it flexes or feels soft, the plaster has let go of the lath behind it; the “keys” have snapped. That’s exactly what happened to our bedroom wall when the wallpaper came off. Once that bond is gone, your only real fix is re-plastering or swapping the section out for drywall.
When it’s time to actually paint, here’s what matters:
- Cracks get properly repaired before any paint goes on — never just buried under primer. With a hairline crack, the move is to open it up a touch with a utility knife (so the filler has something to bite into), pack it with a lime-based or elastomeric compound — not the fast-setting patching plaster from the big box store, which is often harder than the original plaster and will crack all over again — then skim coat and sand it smooth.
- Loose sections sometimes have to be re-anchored to the lath first — construction adhesive injected behind the plaster, with washer clamps holding it in place while it cures. Skip that step and painting over a bulging wall is money down the drain.
- Plaster is thirsty stuff, porous right through. A good primer isn’t optional before your topcoats; skip it and the plaster drinks the paint unevenly, leaving you patchy no matter how many coats you roll on. We reach for an alkali-resistant primer here, something like Sherwin-Williams Loxon Concrete & Masonry Primer. Fresh plaster runs high in alkaline, and a standard primer won’t neutralize the pH or bond the way it should.
One more thing. If your home has ever had wallpaper — and most old Toronto homes have, at some point or another — the wall underneath is often in rough shape. Years of old adhesive, moisture from botched removal, and layers of painted-over paper can leave you with a surface that needs real prep before it’ll take paint.
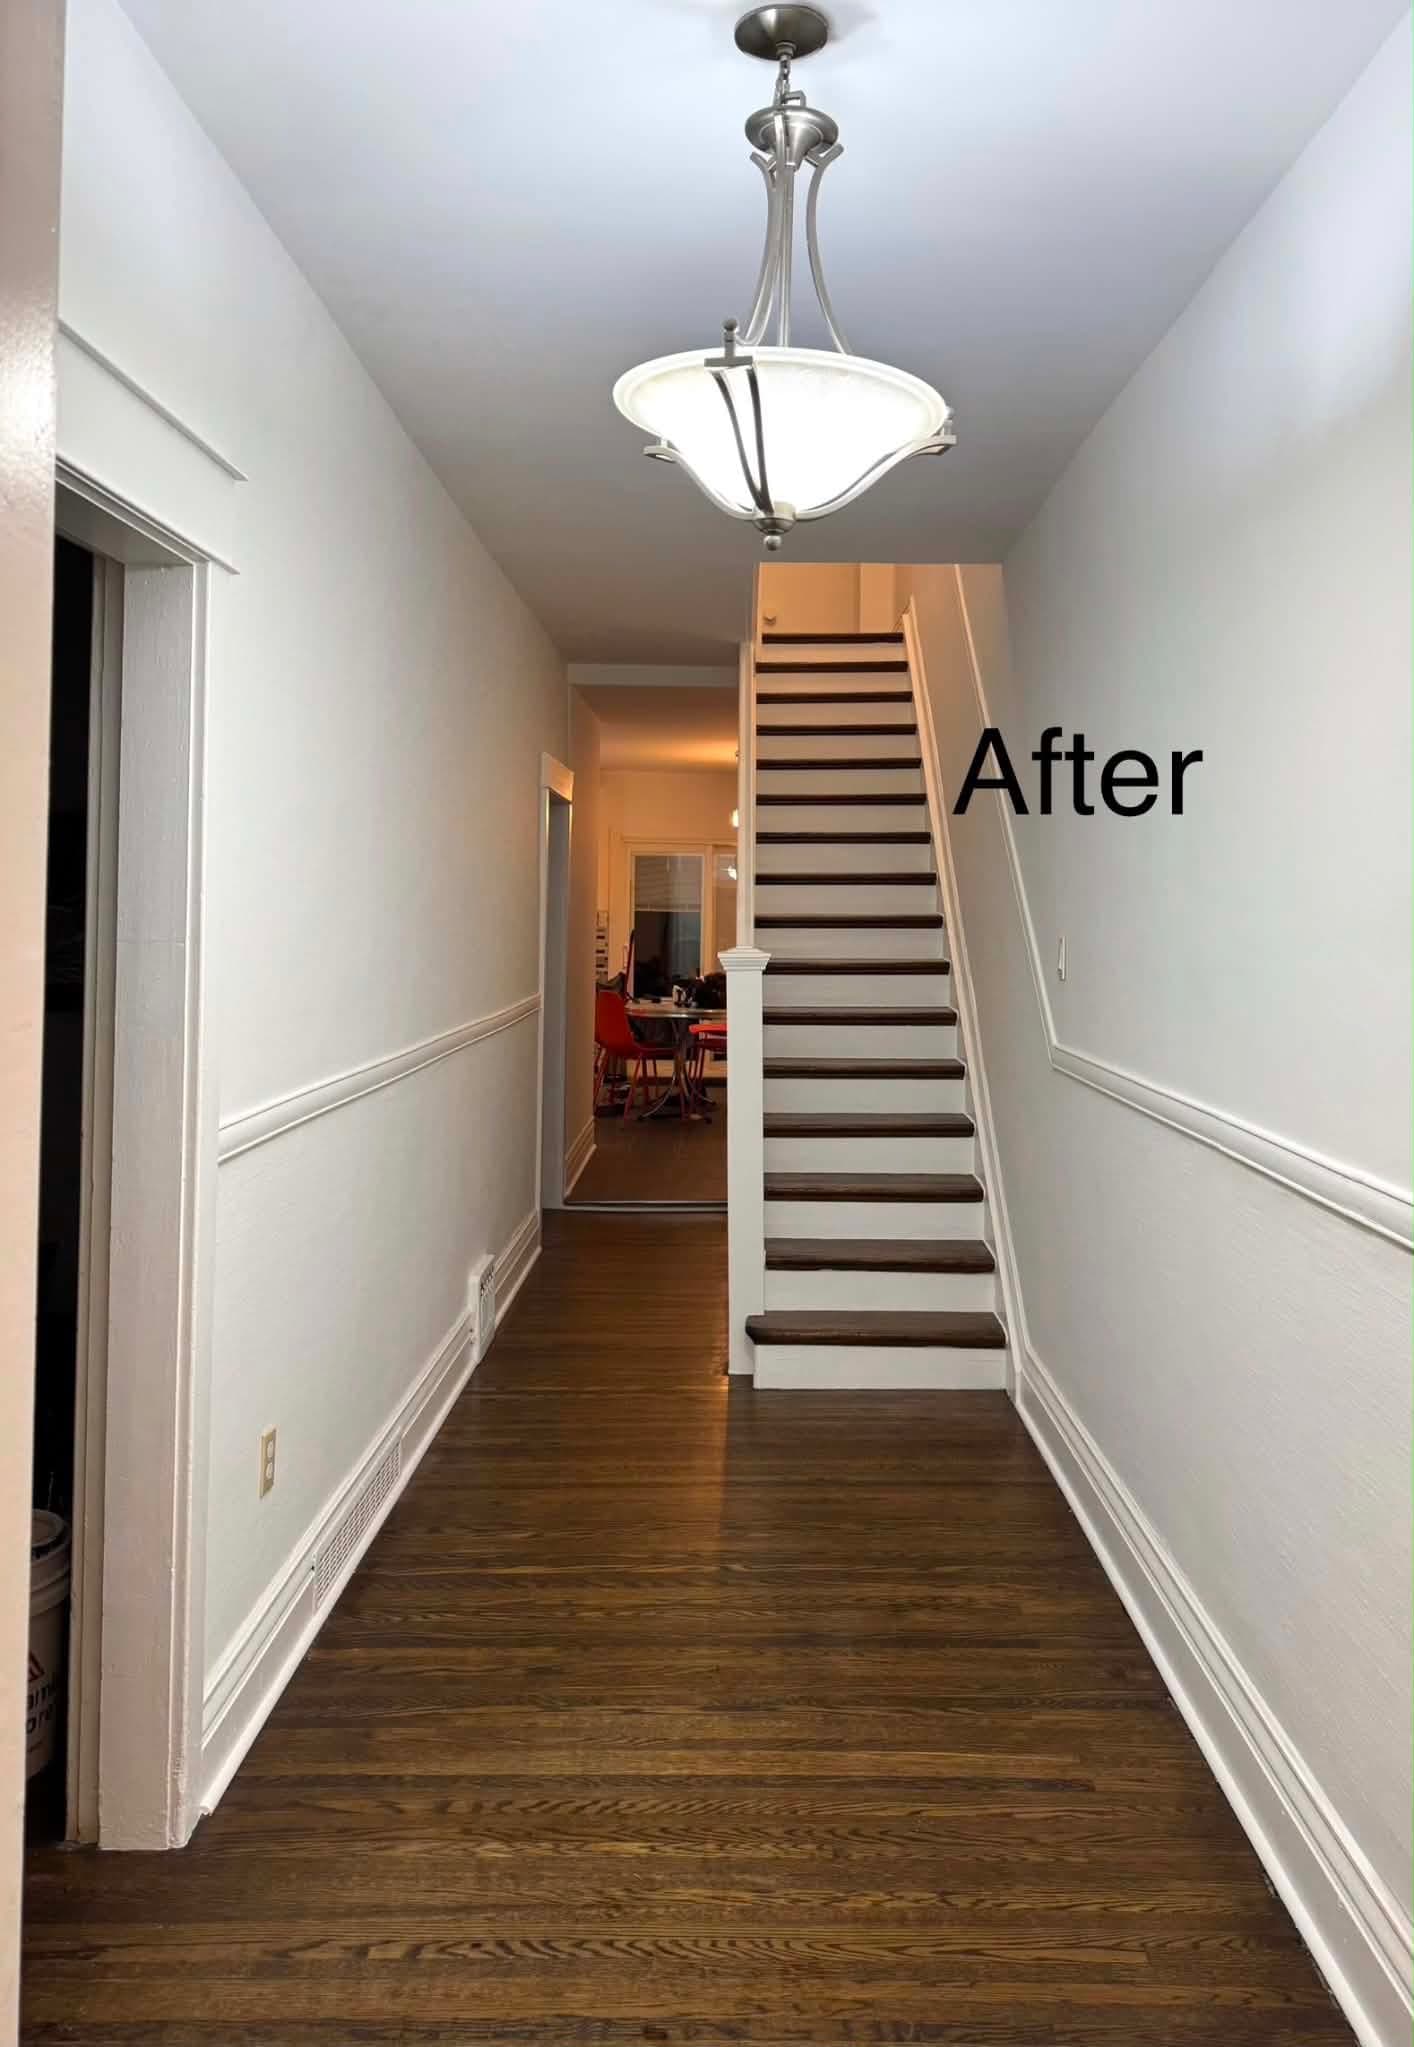
Here are a few examples of our crews doing a proper repair on old plaster walls.
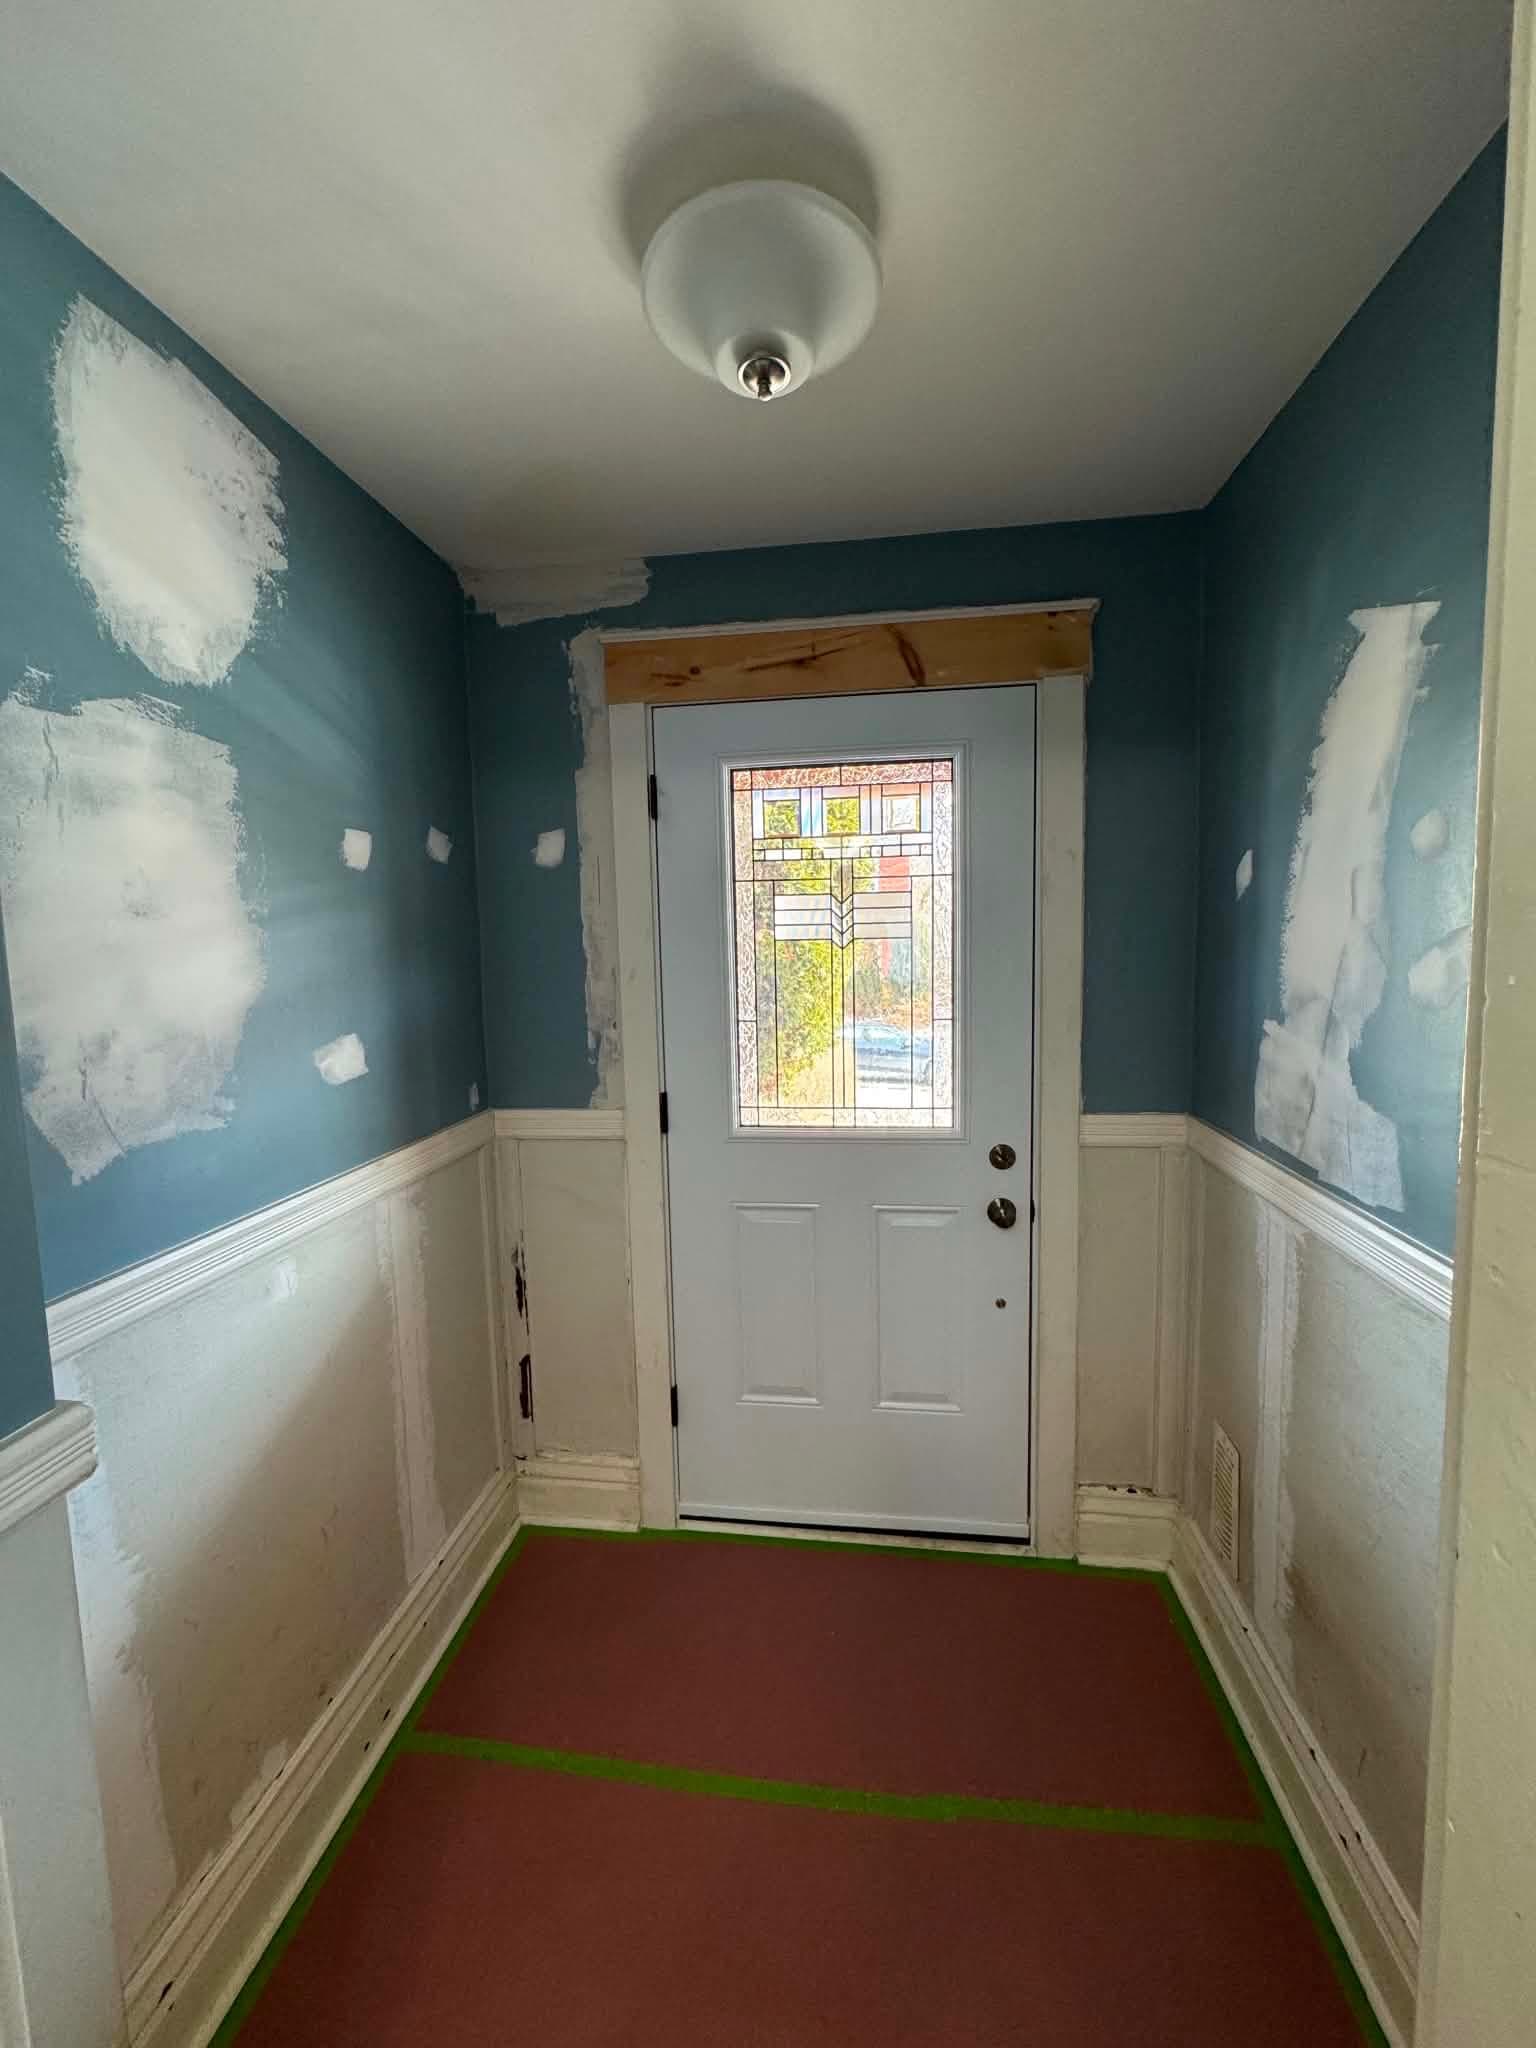 Before
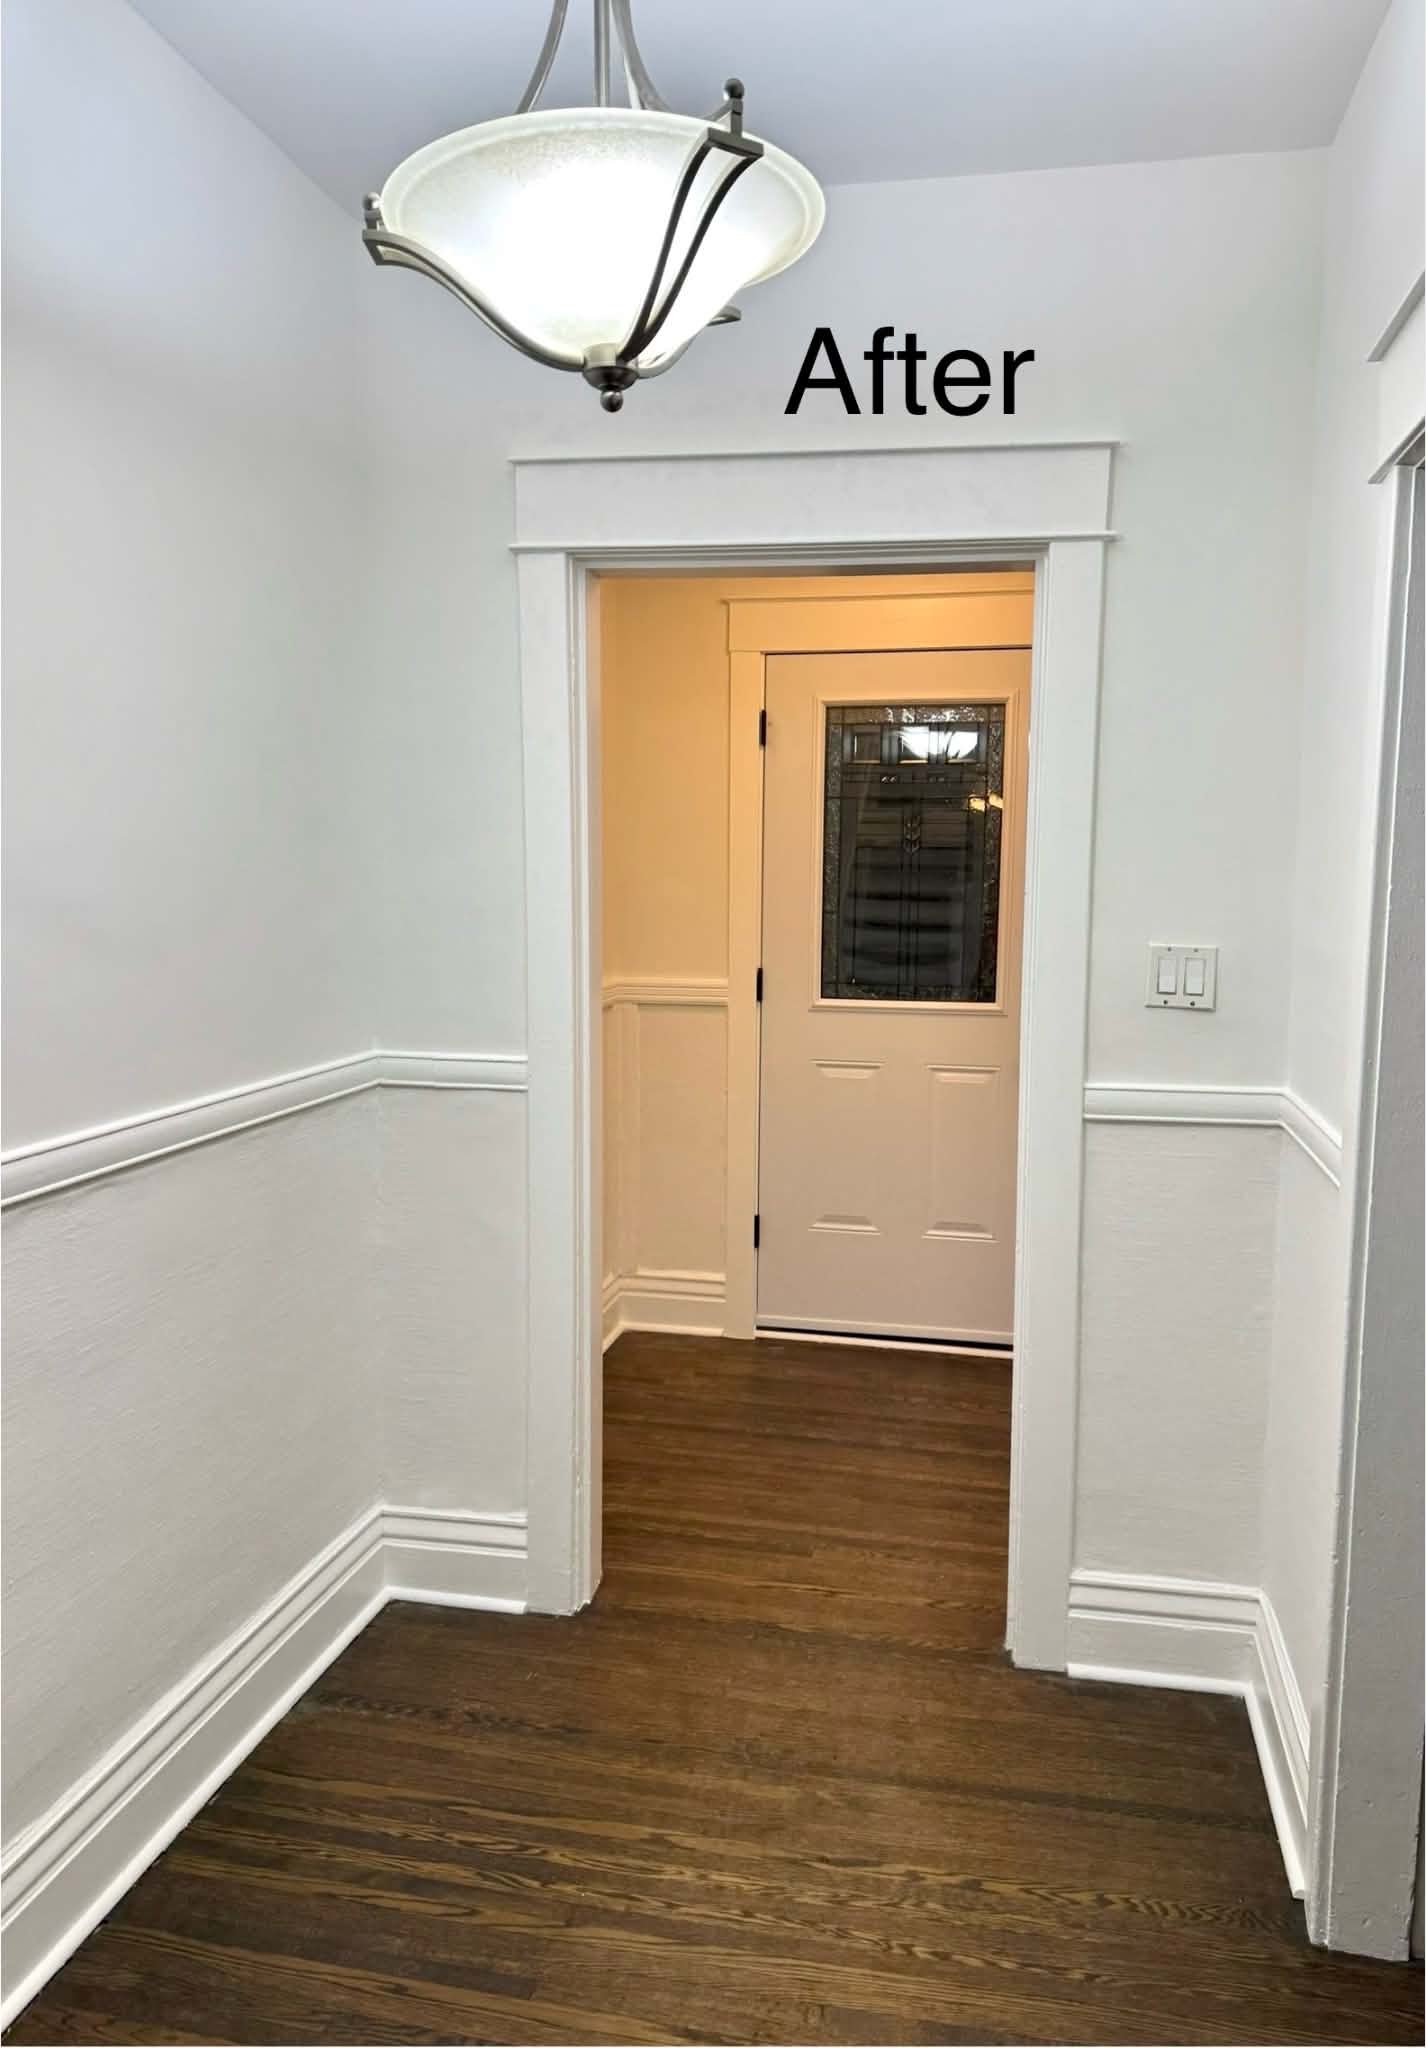 After
After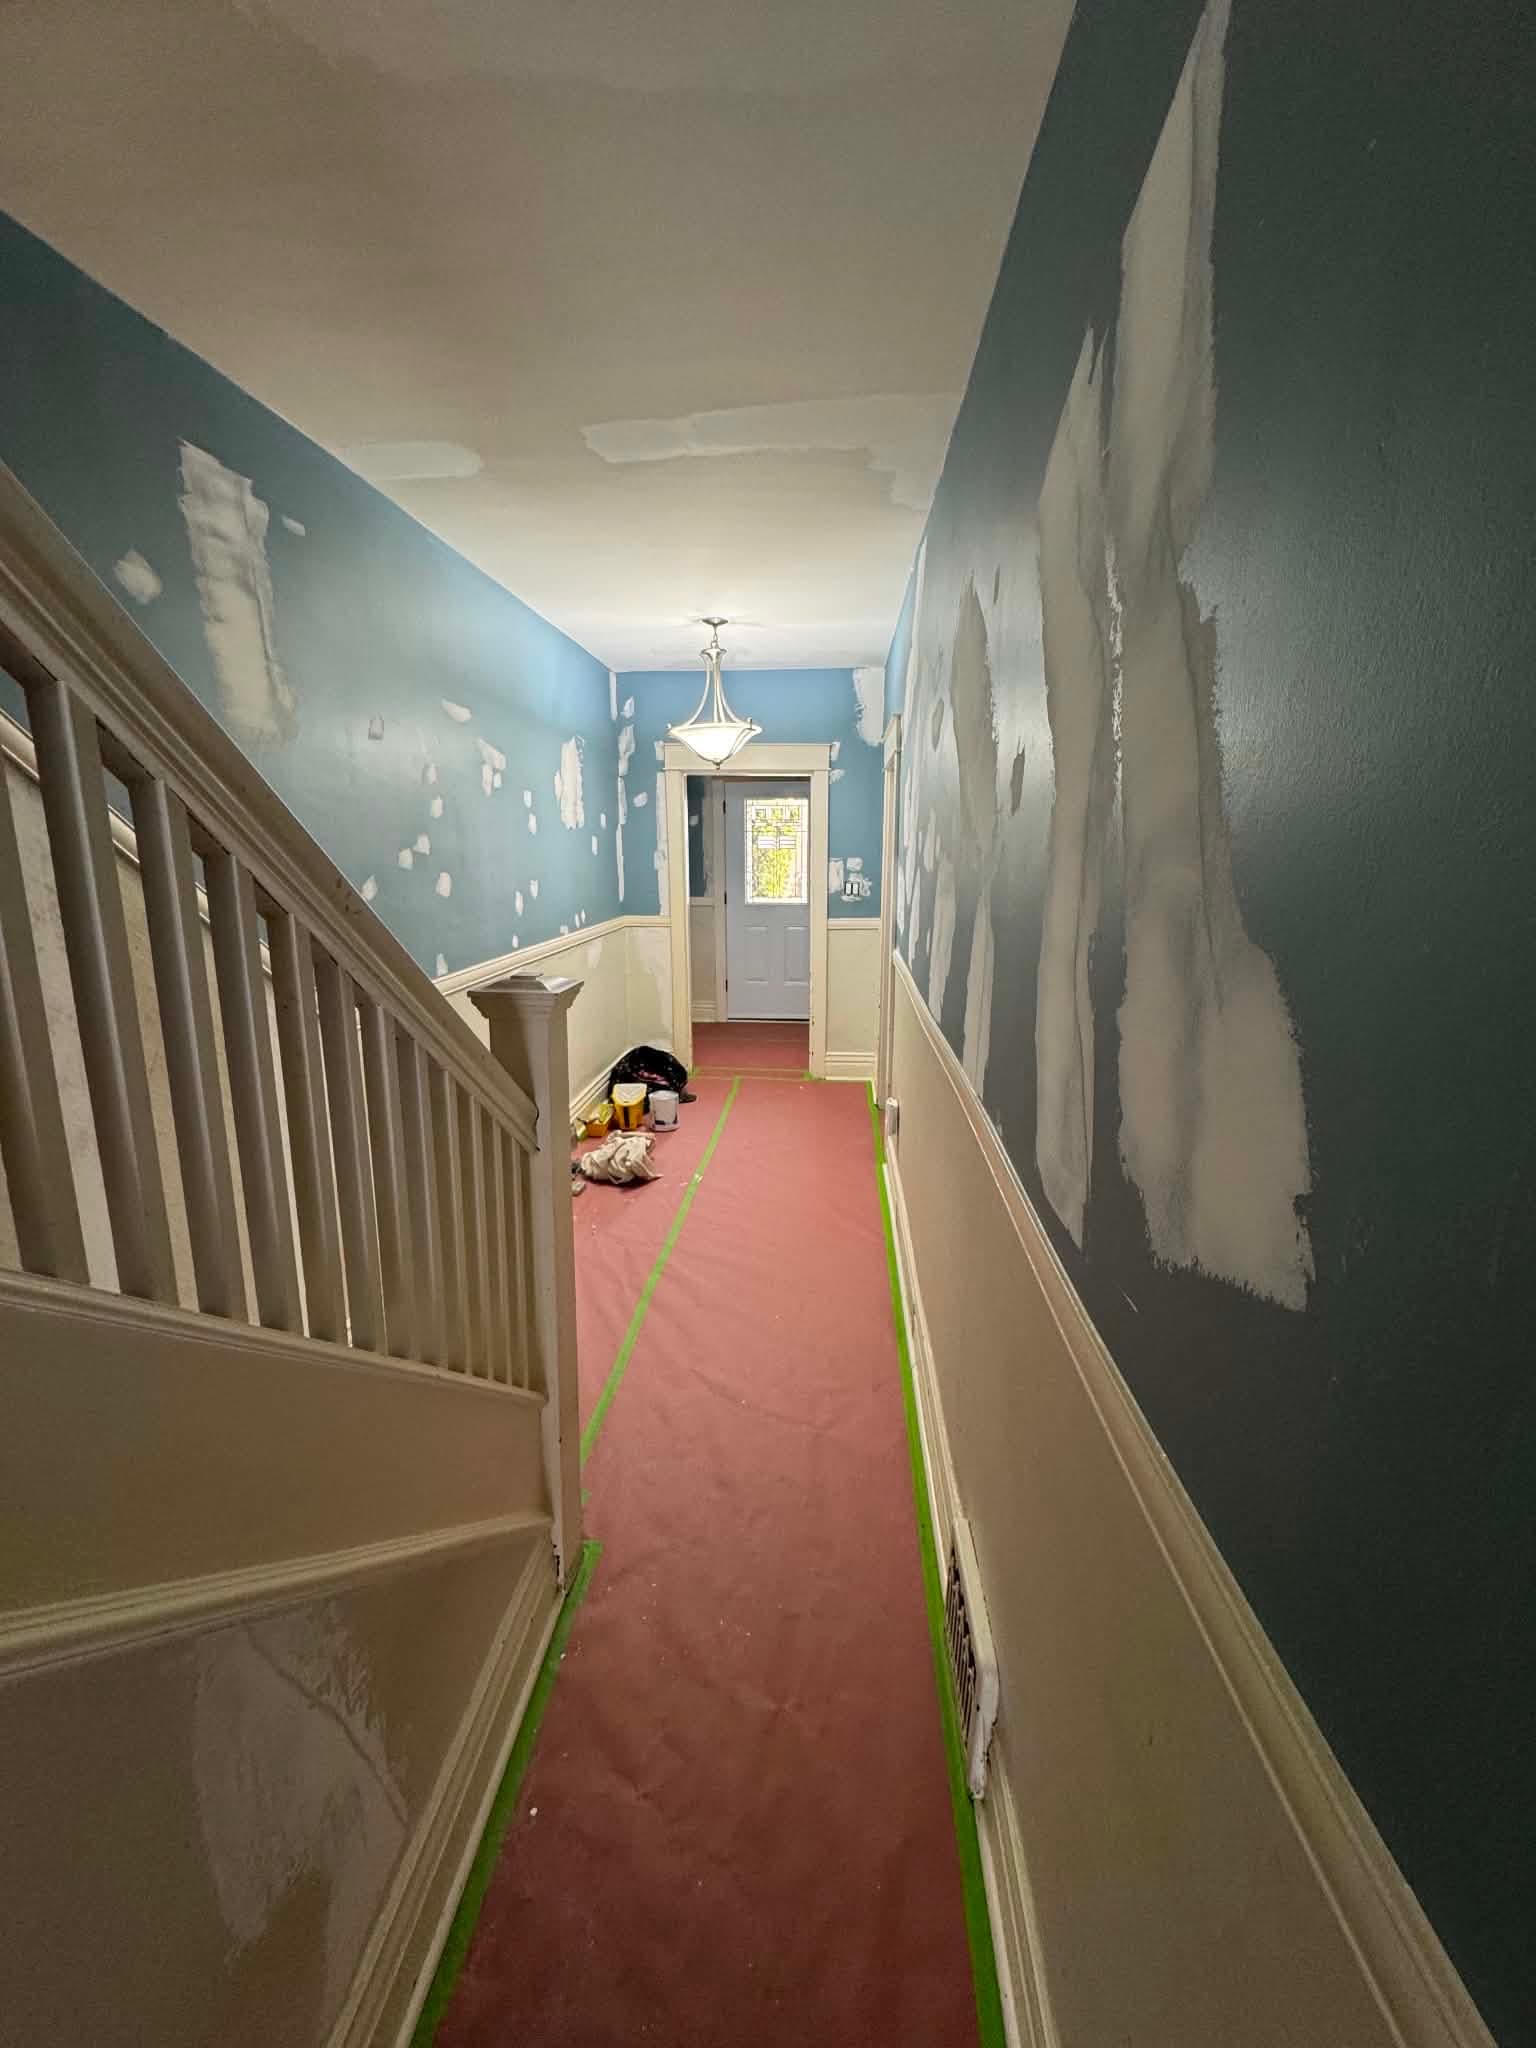 Before
 After
AfterWant a price on your own place?
Two minutes in the configurator. No walk-through, no phone tag, no “we’ll get back to you Tuesday.” Just a real Toronto number.